

Creating an invoice for a contractor is a straightforward process. Follow these steps to ensure accuracy and efficiency:
Access the 'Pay Contractor' Section
Start by navigating to the 'Pay Contractor' section. This is where you'll manage all payment-related tasks for your contractors. You’ll see a checklist with the names of all contractors. Carefully review the list and select the contractor for whom you want to create an invoice.
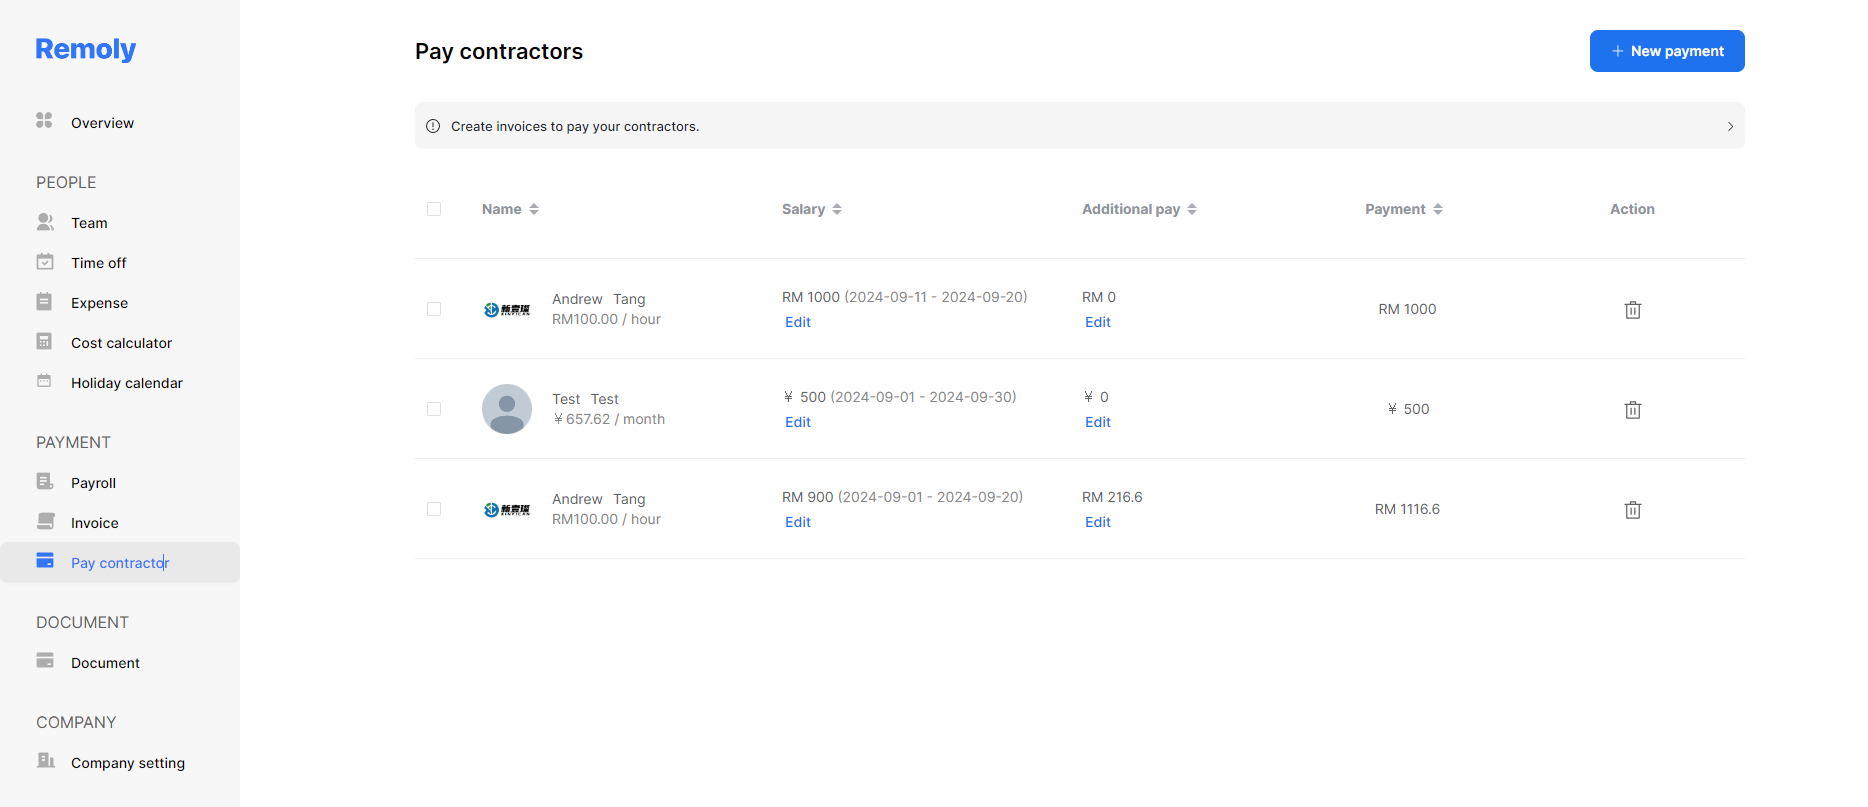
Review and Adjust the Pay Rate
Before creating the invoice, it's important to verify the contractor's pay rate. Doing so ensures that the invoice is accurate and reflects the actual work completed, preventing any potential errors in payment.
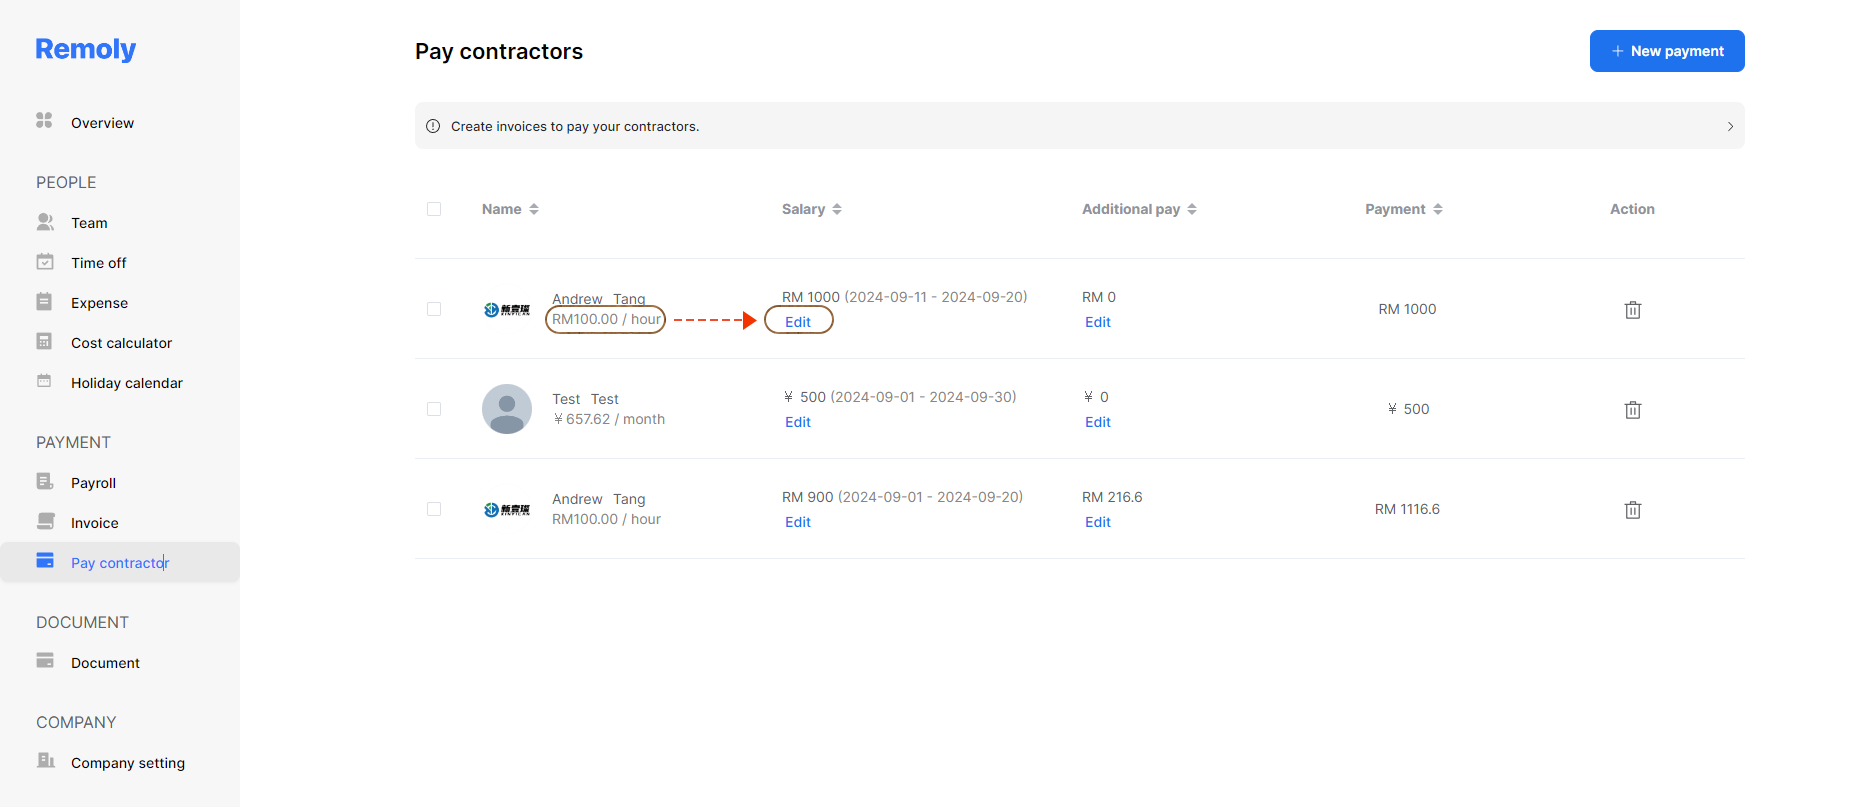
Next, click on the 'Edit' button next to the contractor's name.
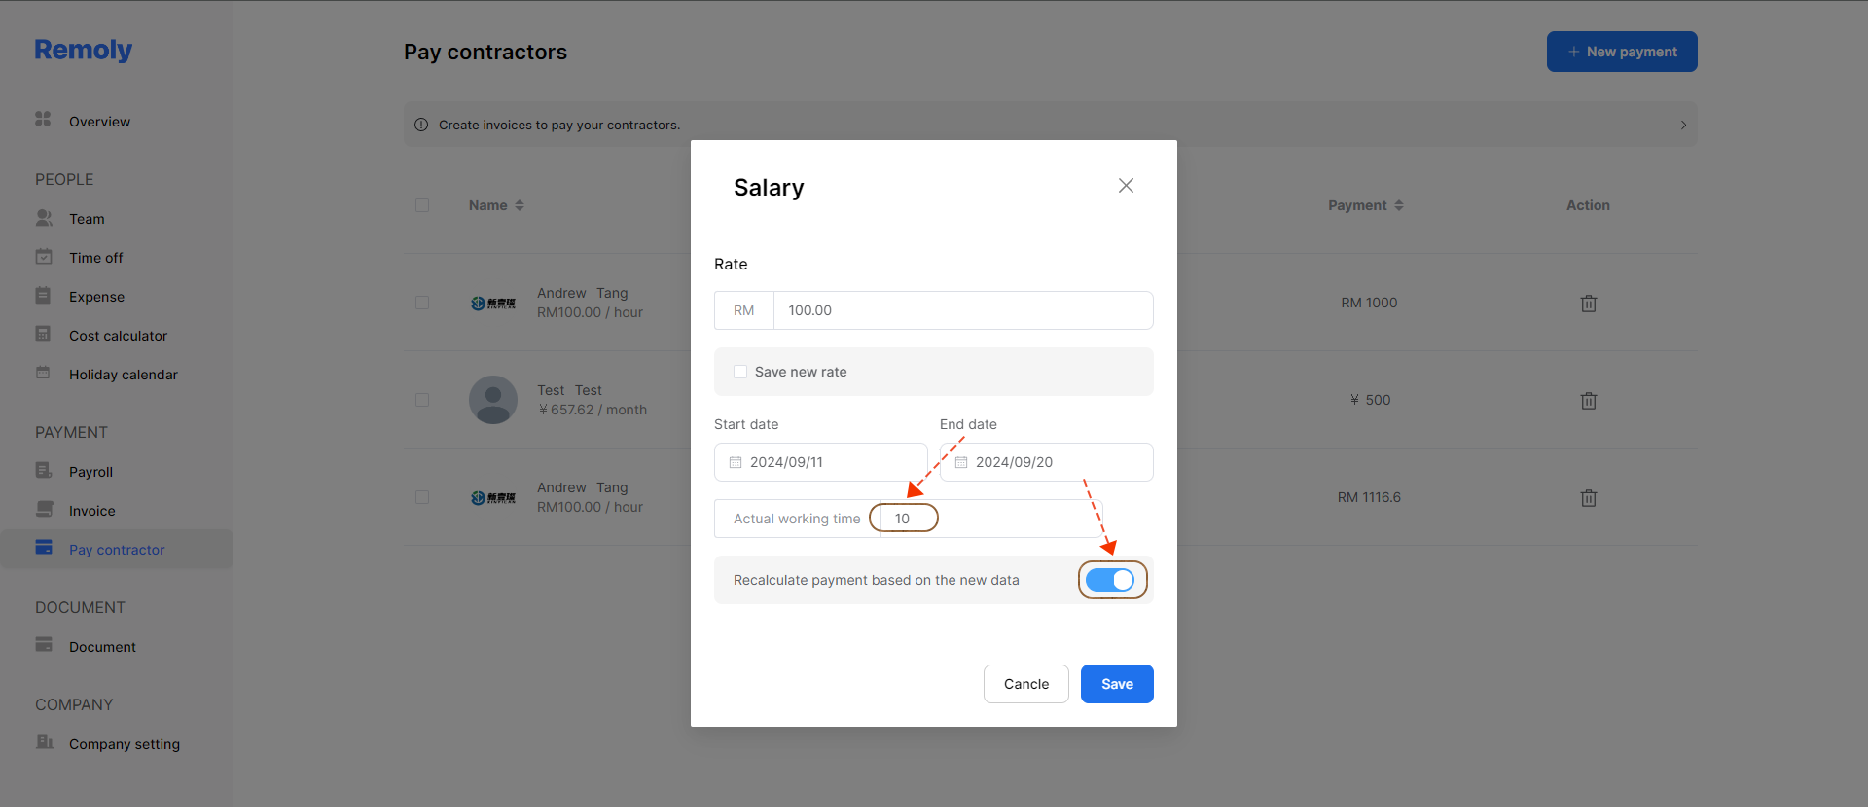
In this section, employers can adjust the actual hours or days worked by the contractor. This step ensures that the invoice reflects the accurate compensation.
Generate the Invoice
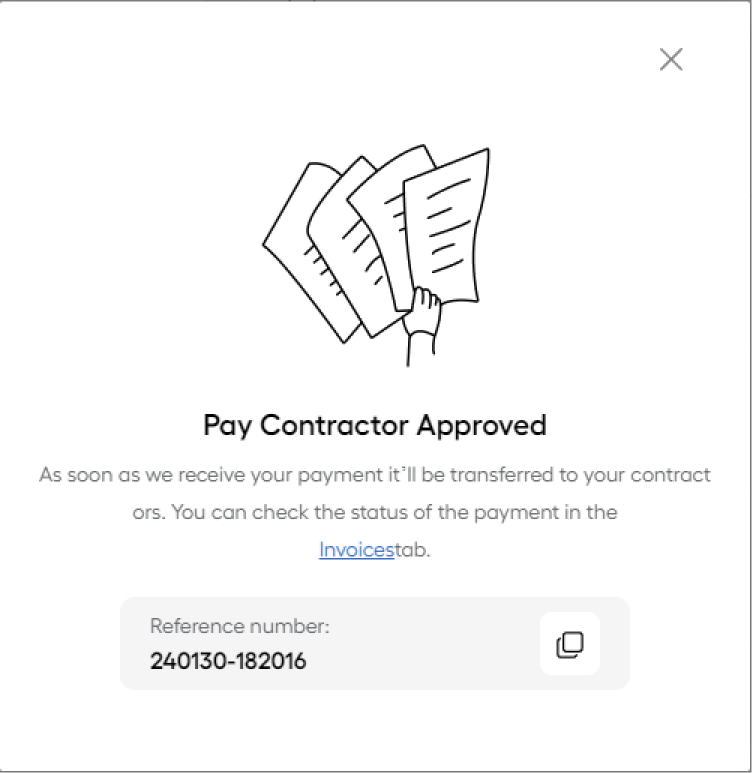
After selecting the contractor's name, proceed with generating the invoice. Ensure that all details are correct before finalizing the invoice to avoid any discrepancies.
Important!
After making changes to the pay rate, the system will automatically recalculate the salary based on the configured salary rate settings.
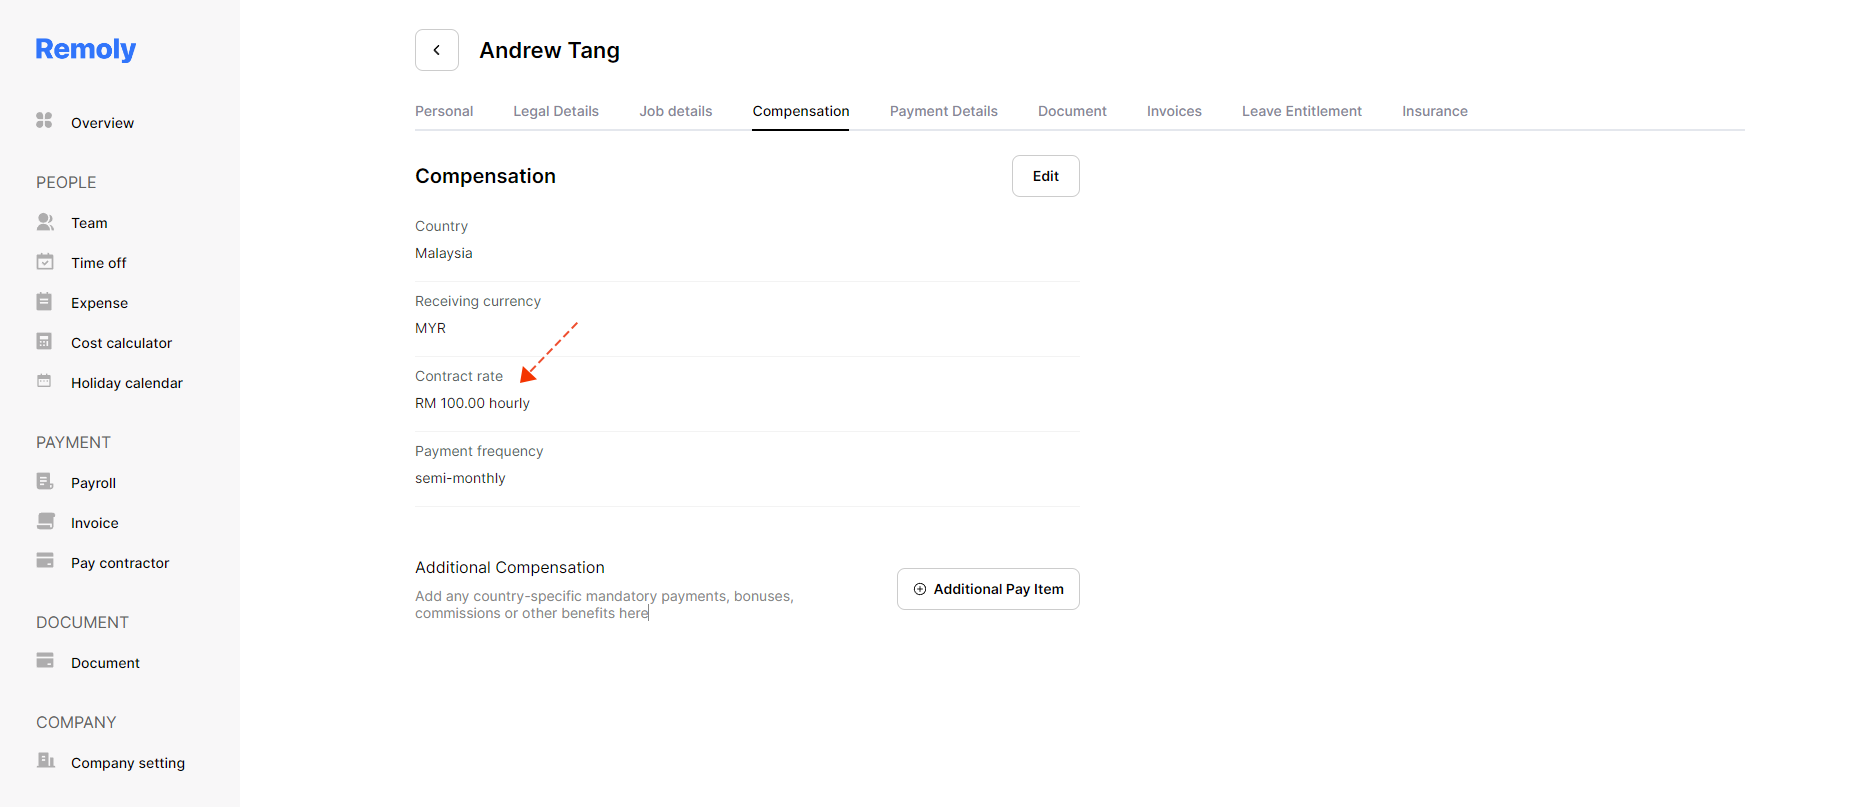
You can check to make sure by going to the 'Team' section, clicking on the selected contractor's name, then choosing the 'Compensation' tab to view the updated details.


Easy to start,
intuitive to use


